There’s something magical about having shiny copper componentson your still, but there are quite a lot of options out there for adding copper to the vapor path. There is a great debate about how much copper to have on a still. Some people think anything less than a traditional 100% copper still is a travesty, while others want to utilize other materials to keep their costs down. This debate on how much copper is ideal for a still is far beyond the scope of this particular article, so we’ll focus on two pieces of equipment that can add copper to the vapor path: copper helmet vs. alembic hat (also referred to as a cone or copper swan neck).
What Are Copper Helmets and Alembic Hats?
Each piece of equipment sits on top of a kettle and affects the batch distillation of spirits in various ways. When it comes to a copper helmet vs. alembic hat, both options have a lot in common, but there are a few differences that can affect the flavors coming through in your final spirit.
The copper helmet gives more headspace and surface area, which respectively helps prevent any foaming from gumming up the works and increases passive reflux. Passive reflux helps with increasing ABV and giving a more pure final spirit. The angle of the lyne arm coming off of the copper helmet or alembic hat also has an effect on the passive reflux of the system. As a general rule, a downward angle sends more congeners and heavier flavors to the product condenser, whereas an upward angle sends less congeners and gives a lighter flavor.
Copper Helmet vs. Alembic Hat: What’s the Difference?
The main difference between the two pieces of equipment is that the copper helmet acts as an expansion chamber, similar to a copper onion. This forces a pressure drop that helps separate more volatile components. Like the passive reflux, this is a small difference, but it should help achieve better separation, in theory. Batch distillation is somewhat inefficient by design in order to preserve more flavor congeners during each run. In order to achieve higher efficiencies, a column still would be a better bet… but part of the craft of distilling is figuring out what process brings out the flavors you like in the final product.
Aesthetics are subjective but can be pretty important. Flavor is always going to come first, but you’re going to be the one babysitting the still, so it may as well be something you want to look at. Part of keeping your equipment looking its best is keeping it clean. Make sure that any part you add is something you can handle giving a good scrub down every now and again. Neither shape of equipment should be that difficult to clean, but if you get a smaller version or get very creative with your piping, cleaning can be interesting.
At the end of the day, there is no one-size-fits-all solution to the type of distillation equipment anyone needs to use. Part of the fun in distilling is playing around with different equipment, recipes, and generally tinkering with the process to get a wonderfully flavored spirit. You may not always make a change that you particularly like, but when you get the process dialed in, that’s definitely something worth toasting to!
If you’d like to toss your ideas around with us, we can help you work out what will work best for your distilling needs. Just shoot us an email at info@stilldragon.com or give us a call here at StillDragon headquarters at (561) 529-9235.
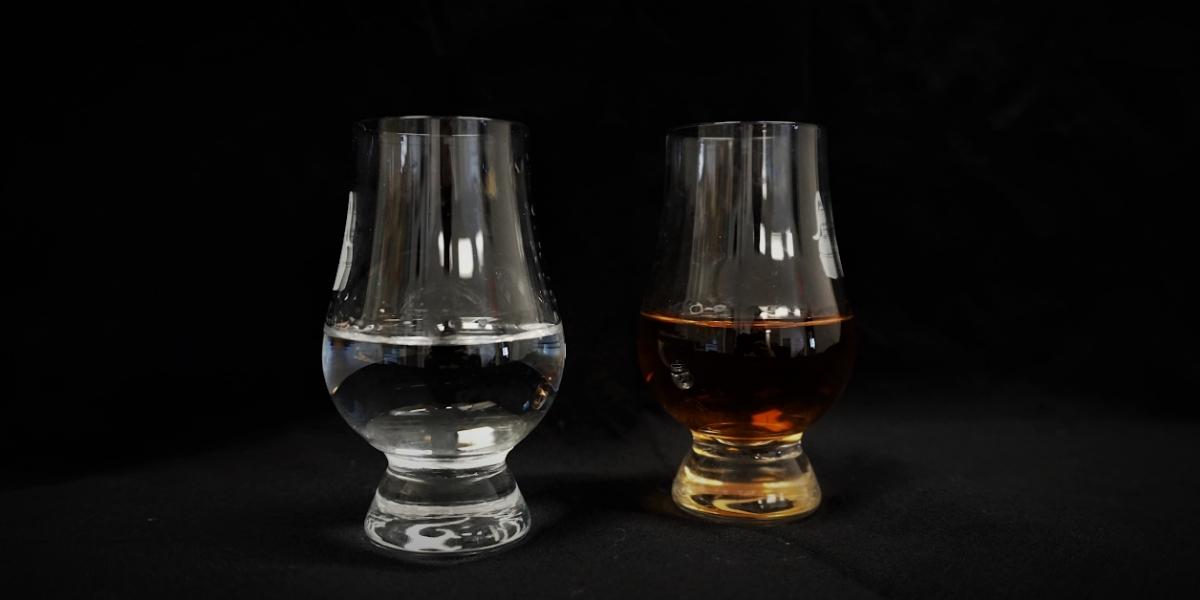
What the EFF is white whiskey? Is it vodka? Is it moonshine? Basically, white whiskey is just unaged whiskey, or baby whiskey, if you will. You’re probably thinking to yourself, “Why on earth is that a thing? Aged whiskey is the greatest thing to ever exist!” Many people have mixed opinions on the spirit, as they should. We do as well.
White Whiskey: Is It Vodka?
The white whiskey and vodka comparison is often made on the internet, but the only real similarity is the color. While whiskey can be made into vodka, vodka can not be put into barrels and be dubbed whiskey. Vodka MUST exceed 95% ABV during the distillation process while whiskey can NOT exceed 95% ABV during this time. Many associate vodkas with potatoes and whiskey with corn, but vodka can also be made with grain, in fact, vodka can be made with almost anything. Vodka is distilled and cut at a different ABV than whiskey is. Strictly regulated, whiskey must contain certain percentages of corn or grain, i.e., rye must contain 51% rye, while bourbon must contain 51% corn. Though white whiskey is unaged, it MUST touch the inside of a barrel in order to be legally considered whiskey. For how long, does not USUALLY matter… the keyword here is “touch”. Though some states do have laws on the matter. For example, Illinois will only consider a spirit kept in a barrel for AT LEAST 24 hours a legal whiskey. Check your state laws before taking on this endeavor.
Is White Whiskey Moonshine?
Unaged whiskey is often compared to moonshine, which is any spirit made illegally. Moonshine is essentially just an unaged, untaxed, and unregulated spirit; however, many distilleries do label their product as moonshine. White whiskey is very similar to moonshine. It is a naked grain with no REAL color, but it is legally made and regulated by the state. Many consumers are a bit turned off by moonshine due to urban legends, TV shows, and memes that have been made about moonshiners. You’re probably picturing some shirtless feller in overalls with a long beard making shady stuff in his backyard rather than a licensed distiller in a uniform managing a giant still in a well-equipped distillery. While some stories may be true about the dangers of moonshine, we’d like to make this clear: any spirit can be dangerous to consume in large quantities… consuming shine is deemed more dangerous because it typically has a higher proof and ABV. Mainstream consumers may feel that moonshine holds some pretty negative connotations due to its history and stereotypes, though many spirit lovers appreciate the cultural and traditional significance of moonshine, as well as feeling a little sneaky when enjoying it. We still suggest that you purchase it from a licensed distiller.
The market for white whiskey just simply isn’t that large. It has a very low customer base and demand. As a spirit, it is also generally less complex than aged whiskey. Though there are some disadvantages… white whiskey does have its perks. Providing a white whiskey highlights the essence of the spirit. You and your customers will get a relatively clear vision / taste to see how the grain bill, yeast, fermentation, and distilling method contribute to the flavor. Jeff Rasmussen, a member of our sales team and someone I would call a quite the whiskey connoisseur, always says, “You can give 10 distillers the same still and the same mash, and you’ll probably get 10 different spirits but some may be very similar. If you go a step or two further and give 10 distillers the same ingredients and still, and then let them do the mashing, fermentation, and distillation, you’ll most likely get 10 distinct spirits.” Producing a white whiskey can be a great thing for startup distilleries, as you’ll have whiskey to sell right away while you and your customers await a barrel-aged spirit. Including your customers in your production process will help them understand just as well as we do what it takes to create a fine spirit.
Aged Whiskey: The Good Stuff
Though barrels require lots of space and attention, it is a worthwhile process and our appreciation for a balanced, well-matured whiskey is uncanny. When done well, the essence of the spirit isn’t covered or lost but enhanced or accentuated. The majority of the complexity within the spirit comes from the barrel in which it is aged. Most whiskey is typically aged for 2-6 years — any longer may not be ideal, as time is money. This is the only drawback of producing bourbon or rye, for example. The aging process can be a real party pooper sometimes, especially for those of you out there who are just as impatient as we are when it comes to trying out new spirits. However, for the distiller, it commands a higher price point — which is obviously ideal. We all want to be running a million-dollar distillery, am I right?
Our business owner Larry Taylor wasn’t much of a whiskey drinker when he was first introduced to the wonderful world of distillation. His appreciation for the spirit has grown tremendously as StillDragon (SD) has become a bigger, more prevalent entity in the craft distilling community. Our customers have been able to create some amazing whiskeys with our distillation equipment, and it is quite a fun experience to be able to taste something that you were a part of — though our role as a commercial distilling equipment provider may just be a small piece of the puzzle. Most of our team at SD headquarters prefers whiskey over any other spirit. The whiskey pallet is just unbeatable: the vast range of flavorful notes that can be established in a beautifully aged whiskey are delectable. I mean, is there anything better than a single malt whiskey? Appreciating whiskey definitely comes with time, but tasting a white whiskey can more than likely make it a little easier.
Interested in distilling whiskey? Send us an email at info@stilldragon.comor give us a call here at headquarters at (561) 903-4689.
Though there seems to be a lot of confusion and misunderstanding about the advantages of continuous distillation, as well as how it works, how expensive is it, etc., it is much less complex than one would think. The continuous tag implies that the machine never gets turned off. That further implies taking on a second or third shift just to feed the machine. Yay! More overhead. Just what a small, newly minted start-up company needs. Right? Nooo.
And then there’s all the piping and weird heat exchangers, slurry tank, mash cooker, huge fermentation tanks, product holding tanks, pumps… the distilling equipment list goes on and on. But that is to be expected when a distillery is ramping up production.
What if you could incorporate an inexpensive continuous still that could be run in batch mode with your current cooking capability? What if you could feed your still with 25 or 50 gallons of beer like a recipe development size kettle charge? Or feed 300 gallons of beer and either volume would only gobble up about 10 minutes to bring the still online and producing product in the same amount of time for either volume? Well, we’re here to tell you that this is indeed possible!
Batch vs. Continuous Distillation
There are pros and cons to each type of system. There are likely several myths, too. Let’s start with some basic ground rules for choosing a batch kettle for some background understanding about this debate. Firstly, I’ll mention as I have in another article that unless you have some very favorable tasting room laws for cocktails and bottle sales out of your distillery, it can be very difficult to be profitable with a kettle that’s much smaller than a 1000 liters (264 gallons). The larger kettle will provide more bang for the buck. Once you get your business rolling along you might consider putting a dedicated stripping still into service in an effort to keep up with demand or prepare for future growth.
So let’s say a 3000L stripping still is what you’ll choose to pair up with your 1000L spirit still, and you want to have the capability to run both stills simultaneously. That is a total of 4000L, and you’ll prefer no less than a 1-hour heat up time for either kettle. We can estimate that to heat each kettle we will need 240 BTU for every liter of kettle charge volume. So, 960,000 BTU. Let us call it a cool million.
That sounds expensive, ay? Ok, the minister of finance is not happy with the quote for a million BTU steam boiler, so we’ll have to settle for a simultaneous, 2 hour heat up rime. So, 477,400 BTU. Let us call it an even 500,000 BTU. Or a 15HP steam boiler. This for a two-hour heat up time. Let’s hold this thought about heat-up time and we’ll circle back to this point later.
If we ballpark a general rule of thumb, we can say that a typical stripping run will render approximately 1/3rd of the total kettle charge. So, a 3000L kettle charge of beer will render approximately 1000L (960 liters @ 25% aggregate ABV) of low wines. If we collect our stripping run at 100 liters (26.4 gallons) per hour, the stripping run will take about 10 hours after heat up to complete.
Let’s quickly summarize this segment:
3000L of 8% beer will take 10 hours after heat up to render approximately 960L of 25% ABV low wines.
Onto the spirit run:
Now we’ll charge the spirit kettle with 960 liters of 25% ABV low wines. If we collect 160 proof (80% ABV) at 40 liters per hour (after heat up) the run will take 8 hours to complete, and we will have rendered out 300 liters of distillate.
If we assume that an optimistic 70% of that distillate (after cuts) is worthy of a bottle, we will have produced enough spirits to fill 560/ 750ml bottles @ 40% ABV. Or, 46.67 twelve 750ml bottle cases. Or, 3.35 barrels filled at the end of no less than a 10 hour day (after a 2-hour heat up and before clean up) babysitting both stills.
Summary:
Very likely a 13 or 14 hour day to collect 3.35 barrels of useable distillate.
Two distillation systems required to maintain a production schedule of 3.35 barrels per day.
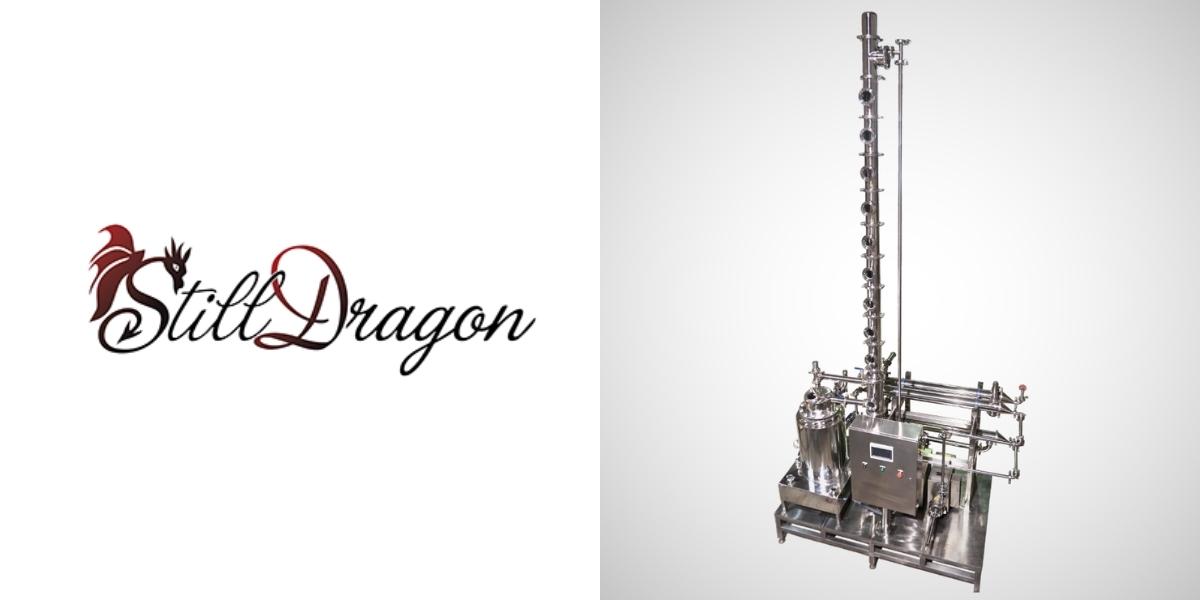
About the StillDragon Continuous Distiller
Let’s start with the myth. One of the big complaints about continuous distillation is that the distiller cannot make “cuts” on a continuous on a system that is continuously fed. This simply is not true. What is true is that cuts cannot be made on a system that is set up strictly as a CM (cooling management) product collection system. But if set up as an LM (Liquid Management) for product take off it is not a problem to make cuts. The LM product collection pulls product off at the desired plate level in the form of liquid rather than vapor as done with VM (Vapor Management) product collection. LM product collection allows any vapor in suspension at that plate level to travel further up the column to be bled off as “heads”.
As for tails, the StillDragon Continuous Distiller also employs a dephlegmator used as a pre-separation unit at the base of the spirit column. With precision temp control, this heat exchanger is able to hold back the “tails” constituents and prevent them from entering the spirit column. Once the tails liquid level accumulates in the re-boiler, They are automatically pumped back to the beer well to be run through the stripper column again. This acts to strip remaining alcohol, boost abv, promote better column behavior, and help form carboxylic acids that can enhance the flavor profile in the finished distillate.
Heat up time for the continuous still is just a matter of minutes compared to the batch kettle system. The 12” continuous system heats up and is producing distillate in 10 minutes for example.
As for actual processing speed, the 12” continuous system is capable of rendering 32 gallons of finished spirit in 1 hour. No! This is not a typo. That’s 256 gallons of finished product in a single 8-hour shift. How long did we say it would take that batch system to produce this much finish product with the same amount of heat input?
To be clear, that is a 45% increase in utility efficiency and a 135% increase in man-hours/labor efficiency! Unless you’ve been involved with Bitcoin, it is extremely difficult to get that kind of return on investment if you see my meaning?
Advantages of Continuous Distillation… in a Nutshell
Distillation has always been about economy of scale. And if you really want to improve upon your margins, get home in time for dinner with your family, have more time to market your finished product, and of course, have the ability to produce more product at a faster pace (if that’s what you are shooting for), continuous distillation is the way to your future. Stop wasting your potential profit and enjoy a better quality of life: the advantages of continuous distillation are worth it.
A StillDragon Continuous Distiller can be sized according to your current needs to give you more flexibility to scale up production as your distillery gains traction and grows. Why handcuff yourself to a batch kettle that will require more man hours to operate for the same yield? StillDragon can build for a live steam feed or for a small, jacketed re-boiler.
Let StillDragon help you design your distillery buildout. Call the office Monday through Friday (8 am to 5 pm Eastern Time) at 561-903-4689 or email us at info@stilldragon.com. We’ll get you pointed in the right direction so you can start capitalizing on the advantages of continuous distillation.
Whether you’re looking to start a new distillery or upgrade your existing system, there are lots of parts to a distillery and every process is at least somewhat unique. Finding the most affordable distillery equipment while maintaining the ability to produce a quality spirit can be a tough juggling act. At the end of the day flavor is the most important part of the production process, but spending wisely where you can to have the biggest impact is a solid second. We won’t be going into every possible way to save in this article but if you have specific questions, please reach out and let us know.
Finding Affordable Distillery Equipment
Doing your research and having a plan will help you know what you’re getting into. Looking for distillation equipment on sale can be a great way to stretch your dollar. By shopping smart, there may be opportunities to get a great deal on your first system or that upgrade you’ve been considering. Every distillery is at least somewhat unique but they all have a few things in common as well. In order to distill, you’ll need the following: water, a still, bottling equipment, and a place to store your raw materials and finished product (probably a place to store your mashing equip
ment and fermentation tanks as well).
Where to Save and Where to Splurge
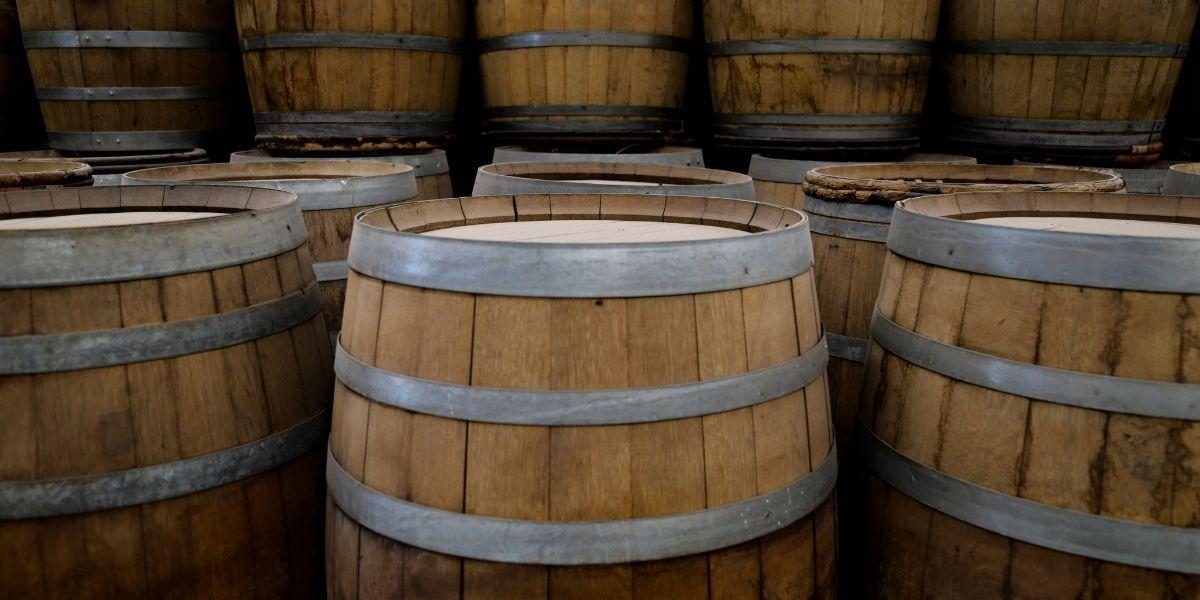
1. Location
One of the first things you’ll need to evaluate is the location options available. There’s a lot that goes into choosing the right space. Are you planning on having a tasting room? If so you’ll want to make sure you’re near to other places that people want to spend time at. There’s a reason that nightlife and restaurants tend to cluster together. These areas can be pricier than more out of the way spots but the old adage of “If you build it they will come” doesn’t usually hold water these days. Space to store barrels and bottles will also be important to consider, especially if you have an aged product. Space can run out surprisingly quickly when you start rotating barrels and maintaining production. The quality of water in a location is another thing to consider. Not every distillery will be located next to an ideal water source for the spirit(s) you’re making so it’s important to test the water so you can budget appropriately. There are several different treatment options and you may find that you don’t need the highest price filtration to meet your needs.
2. Fermentation
Once your water is ready, you’ll want to think about your fermentation needs. Some distilleries are fortunate enough to have a brewery nearby and can outsource their fermentation. Others may start with a neutral spirit as a base for their final product. For those that want to control their process from the grain to the bottle, making sure you’ve got proper fermentation and mashing equipment is a must. This is another area that you want to make sure you know what you’re getting into before you commit to equipment. Are you planning on heating this electrically or with steam? If it’s electric, are you going to have exposed coils and eat the extra costs of cleaning, or are you thinking about using a Baine Marie style and opting for the ease of use? There’s no one right answer to this balancing act and it’s up to you to decide what features are important. Just like power windows and manual transmissions in cars, everyone has a preference but something that’s livable for a week or a month can become a major bottleneck when you’re ramping up production.
3. Material
The material used can also add a pretty penny to the final total. Almost everyone loves the look of an all copper system, and there’s a lot of artistry in a traditional Scottish style pot still. But copper is expensive and there are other options for getting your spirit just right. A stainless steel kettle and a column will allow you to have more control over the process and still put a good amount of copper in the vapor path. Borosilicate glass columns can help reduce the price even more while still being aesthetically pleasing. There are lots of different configurations you can use but make sure you know how much labor is involved.
4. Labor
Time is money. Labor costs can skyrocket when you’re distilling a spirit several times to get it just right or trying to clean the scorched grain out of an unscreened heating element. Believe it or not, time can be the most expensive part of distilling and labor will almost always cost more in the long run than your equipment. If you’re just starting out and you plan on bootstrapping your process by doing as much as you can yourself it may be tempting to get a smaller system and put the hours in to make it work, no matter how long it takes. And that may work for a while but long days take their toll and who’s going to market and sell your product, do the bookkeeping, and take care of the day to day tasks that need to be done while you manage the still?
5. Size
Sizing your location and equipment properly will save you money over time. Since equipment can only process so much material per hour once you are at capacity the only way to get more production out of your facility is to add over time or buy new equipment. That’s not to say that every distillery needs to have the largest equipment on the market, but you don’t want to outgrow your equipment too quickly and have to pay for a larger system before you’re ready. Work with your vendors, and they’ll be happy to help you get a plan and a process put together that fits your needs.
From kettle size to still type, making whiskey commercially requires quite a few tools and gadgets but it doesn’t have to be a complicated process! Depending on your personal preferences and needs, here is a quick rundown of typical commercial whiskey distilling equipment that could put your mind at ease.
We know that taking your production to the commercial level can be a stressful task but we’re here to help. We suggest you first calculate your fixed costs to confirm how to size your commercial whiskey distilling equipment. Starting in the 250-to-300-gallon range first and then downsizing (if need be) is the best way to go about things. You can always use bigger equipment to make smaller batches, but you will struggle to do larger batches with the smaller equipment. Additionally, larger volumes are usually a better value on a per liter/gallon basis.
Tank – For a commercial distillery, starting with a standard-sized 250-gallon/1000-Liter tank would be ideal. Anything smaller and you will likely make enough money to cover your fixed costs, but not much more. Distilling really is about exploiting economies of scale. We accept custom orders to meet any tank fabrication you want
Mash Tun – A mash tun is a crucial vessel in the craft distillery business, the mash tun aids in the mashing process to convert starch into sugar, making fermentation possible. Though not a requisite, we would recommend sizing your mash tun at least as large as your distillation kettle.
Fermenter – Fermenters are an important element to the craft whiskey-making process, maintaining optimal conditions for micro-organism growth. StillDragon offers a variety of single-walled or cooling-jacketed fermenters, both made of durable, high-quality stainless steel.
Kettle – Choosing the perfect kettle starts with deciding your heating method; check out the blog post titled “To Steam or Not to Steam“ to learn more about heating the kettle. Once you’ve decided on the heating method, you can move on to size and whether you want a copper top kettle or stainless steel. For creating a flavorful whiskey, a 1000L (264-gallon working volume) will give you about 26 gallons of barrel strength (or the like) distillate.
Still – Depending on whether you plan on staying traditional or isolating more flavors, you need to decide between a pot still and a reflux column. A pot still consists of a big pot (kettle), swan neck (or Lyne arm), and condenser. StillDragon copper helmets can be used modularly on our kettles to replicate the more traditional pot still. We stock the whiskey helmets but they can be customized to your specific needs. On the other hand, the StillDragon reflux column configuration is a column that utilizes copper plates andcaps, a Lyne arm/bend, and condensers. StillDragon’s reflux configurations use a cooling management system that requires two condensers: a partial reflux condenser (dephlegmator) and a product condenser. The reflux column works so that the more distilling plates you have, the more distillation cycles the vapor goes through creating purer alcohol. The opposite can be said with fewer plates. Fewer plates equal more flavorful alcohol.
Ancillary Parts – Other items you’ll typically see on your quote from StillDragon in order to complete your still include a proofing parrot with hydrometer/alcometer (to measure your vapor/liquid and your ABV), standard tri clamps or high-pressure clamps (better for bigger systems and still keep everything modular, which is great for cleaning and customizing), gaskets, and push connects with adapters(for water hosing attachments – the adapters make things easier to clean).
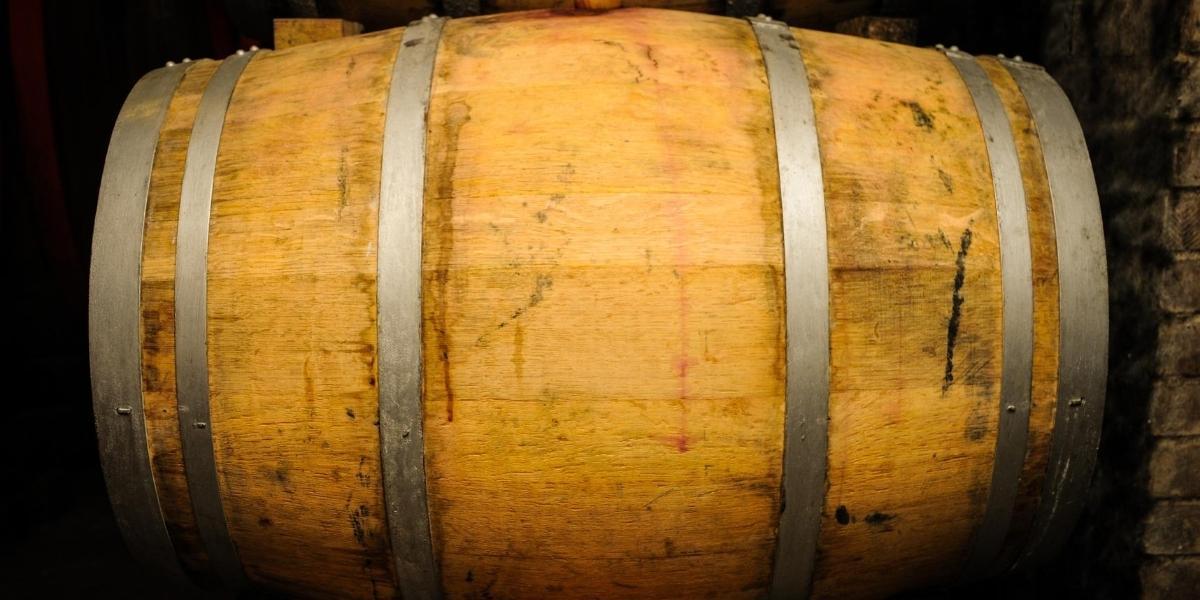
Aging
Now, I know this isn’t “equipment” but barrels/casks are, obviously, extremely important for whiskey flavor. We recommend that you get your product into barrels immediately – unless you plan on making a white whiskey, of course. According to WhiskeyAdvocate.com, there are:
7 Types of Barrels/Casks Used to Finish Whiskey
1. Wood Finish
Wood: Virgin American oak, Irish oak, Japanese oak, etc.
Typical flavors: Spice, vanilla, sweet oak
2. Wine Finish
Wood: Typically French oak
Typical flavors: Varies according to wine. Sauternes has notes of fresh bread, tart au citron, and crème caramel. Bordeaux gives red berry, cherry, and plum.
3. Port Finish
Wood: Usually French oak
Typical flavors: Berry fruits, red currant, sultana
Feel free to shoot us an email info@stilldragon.com or give us a call at (561) 845-8009 anytime if you’re interested in starting up a whiskey distillery or taking your current distillery to the next level! We’ll be happy to help you out.
With StillDragon’s modular systems, it is super easy to clean your still in between runs. The following cleaning tips can help you ensure that your product is consistent and your still looks beautiful for display – for tours and in your showroom:
4 Still Cleaning Tips
1. Vinegar Run for New Stills
Charge your kettle with a 1:1 ratio of vinegar and water, and then run your still. The vinegar will help clean out those hard-to-reach places in your still parts that water can’t always get to – especially in your product condenser, where water cohesion (the sticking of water molecules) occurs and reduces the surface area of which water can reach. The boiling point of vinegar is about 32°F higher than water’s boiling point, so it won’t change back to liquid as quickly, leaving the vapor to attack more grime within your still.
2. Steam Cleaning (Water Vapor) After a Run
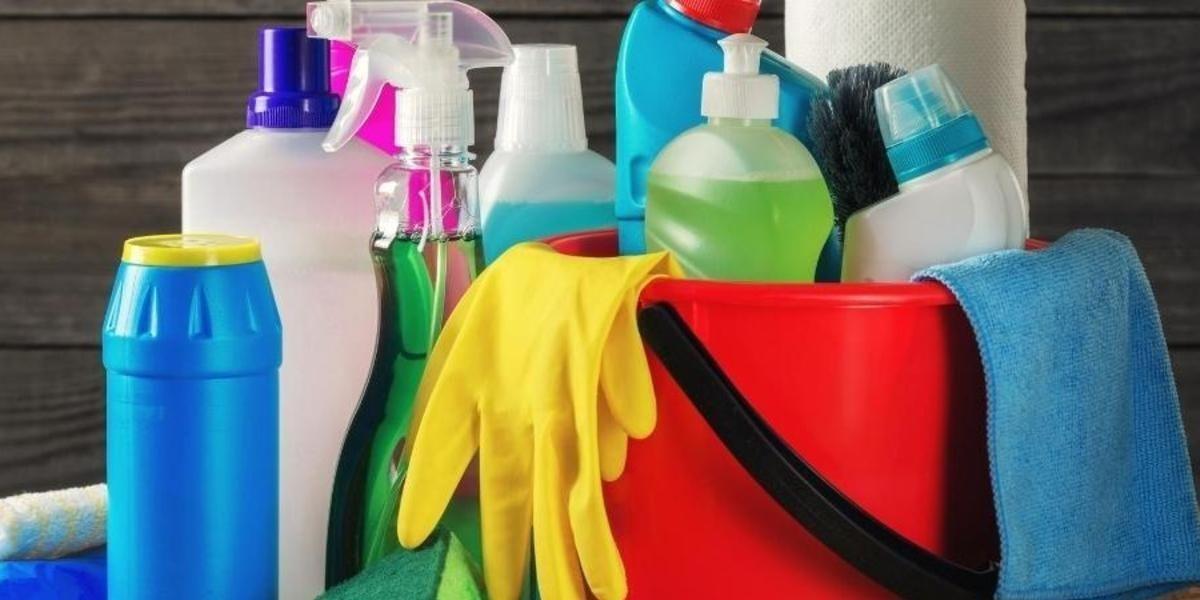
Before steaming, use a cleaner such as Powdered Brewery Wash (PBW), which is perfect for safely cleaning metals, rubber gaskets, tubing, plastic parts, and similar distilling components. It’s also safe on your skin! Simply apply this to the inside of your disassembled still parts, then scrub with a metal pipe cleaning tool and rinse with a high-pressure hose (or place your finger on the hose to generate backpressure).
Using steam to clean your still first is much safer than starting with a sacrificial spirit run because you can run water vapor through your still for a fairly long time without having to worry about highly flammable vapor leaking out into your distillery. Then you can do a shorter, sacrificial run with alcohol to kill off anything that the water vapor and vinegar did not eliminate.
Let’s say you just ran rum through your still, and now you want to do a vodka run. The rum and vodka flavors are very different from one another, so steaming your still will be optimal if you want to continuously replicate your desired flavor. Steaming will (mostly) remove odors and flavors from your last run. Plus, steaming in between runs keeps your palate consistent. Simply charge your kettle with water and run your still until the previous odor dissipates – or until you’re comfortable with the smell of the steam.
3. Cleaning Copper Still Parts (Exterior)
Making the outside of your copper piping nice and shiny for display is simple. We suggest using gloves to clean your copper because the oils on your hands will discolor it, leaving smudges and fingerprints. Using mineral spirits is an affordable and effective way to clean your copper. You can also try soaking your copper in white vinegar and salt, and then scrubbing your copper still parts with a brillo pad.
This is as simple as using a microfiber cloth and a simple stainless steel cleaner. We use Misty Aspire® Stainless Steel Cleaner & Polish (but any brand of stainless steel cleaner should do) to polish off parts so that they look shiny and beautiful once they arrive. You can do the same to keep your still looking squeaky clean.
> Need help choosing among our many different distilling components? Contact the StillDragon team today at 561-264-6490. We’re happy to help!
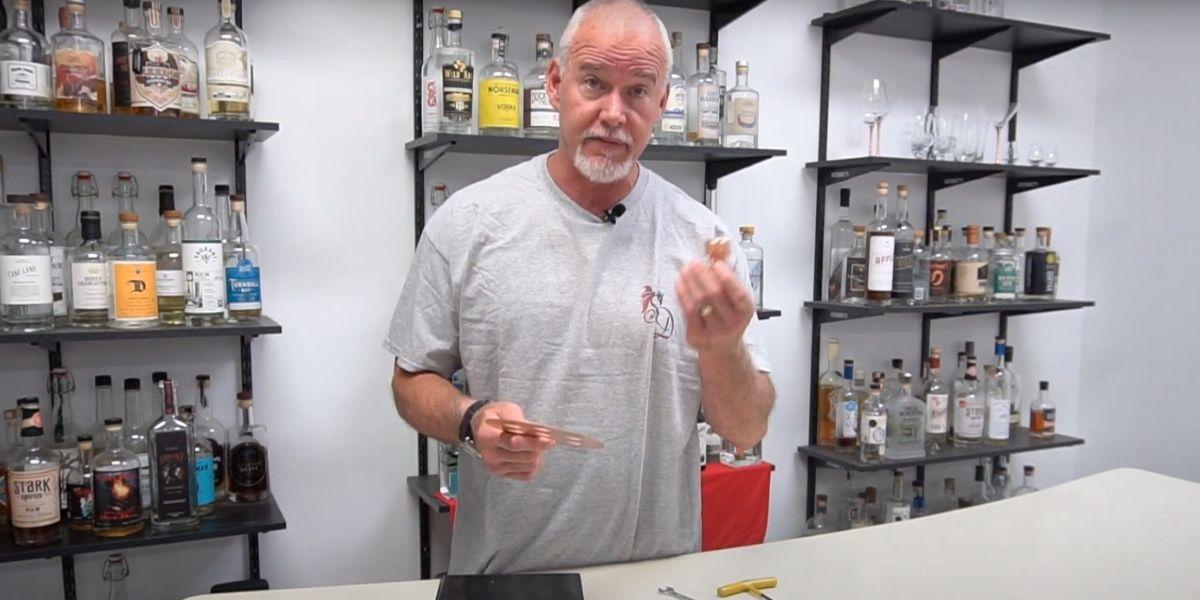
Ok, let me (Larry) just preface this article right off the bat with this thought: if you want the tool that gives you the most flexibility and also allows you to distill at optimal collection speeds, you are going to need a jacketed kettle. A steam coil in a single-wall kettle is simply just not fun to maintain. Don’t believe me? Ask anyone who has ever done rye or oats how fun it was to chip the burned, caked-on residue off of a steam coil.
And, if you’re a “full-sized” person with a small manway hatch, well… let’s just say that you have to be athletic or have extremely long arms.
Similarly, immersion elements in a single-wall kettle can provide a very efficient heat up time, but they too have limitations if your kettle charge has any suspended solids. Anything but a jacketed kettle really is nothing more than setting yourself up for a future kettle upgrade on your main production still. It just is. In my opinion, for professional distillers, jacketed kettles are requisites for batch distillation.
Heating Jacketed Kettles
Now that we have that out of the way, how will you heat your kettle? Will you go with the typical steam jacketed kettle? Or will you choose the electric Baine Marie-style jacketed kettle? Let’s look at the choices:
Steam Boiler: Pros and Cons
The steam boiler as the heat source has the advantage of being able to pipe steam heat to nearly any location (or multiple locations) in your building. The idea here is to determine how many tanks will need to be simultaneously in use so that the engineers can size the steam boiler accordingly. This system is very common in industrial environments. The upfront costs can be dear, as you’ll have to consider the cost of the steam boiler as well as the cost for installation. Also, if you don’t own your own building, will you be taking the steam boiler with you if you change buildings? That’s going to cost you too. And finally, you’ll need to determine how ongoing maintenance on the steam boiler will affect your bottom line as well as your production redundancy. By that, I mean if the steam boiler goes down, how will that affect your ability to function as a distillery?
Electric: Pros and Cons
If you’re thinking about a Baine Marie jacketed kettle, then you’ll need to determine what your electric utility company charges per kilowatt/h. Some states in the country provide very affordable electric power. On the other hand, some states… not so much. Also, how much power do you currently have in your building? Do you have single-phase power or three-phase power? If your building is lacking, how does the cost of upgrading your power supply compare to the cost of a steam boiler?
Upfront costs for the electric, Baine Marie-style kettle can often help the customer avoid the expense of a steam boiler installation if your building has an adequate amount of power. The Baine Marie system is essentially a self-contained steam boiler built directly into the kettle. Furthermore, heat losses are minimal, as the heat is being generated directly within the system.
The system itself is also compatible with typical steam use. Therefore, it can be connected to a more typical steam boiler at any time. A common practice is to connect to electricity upon startup, and then transition to the steam boiler as your distillery business grows.
The steam-fired kettle and the electric-fired Baine Marie are very similar in that they are typically both rated for low-pressure steam. Many operators prefer the precision control that the electric-fired Baine Marie provides compared to the traditional steam-fired kettle. However, either solution works very well.
Planning out your long-term heating (and cooling) solution does take a bit of looking forward and planning ahead so that your distillery buildout is able to scale up with minimal-to-no downtime.
>> Give the team at StillDragon a call or drop us an email, and we’ll help you figure out how to calculate heating requirements as well as plan for production goals.
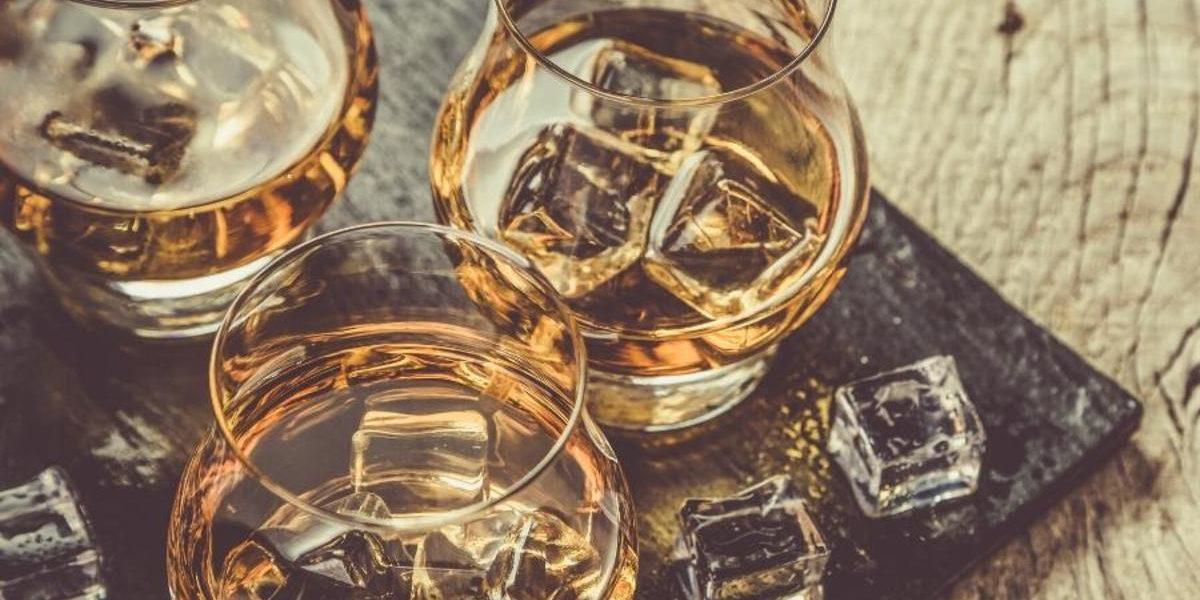
Scotch, bourbon, and rye. Every whiskey drinker has their favorite, and they’re all different and wonderful in their own unique ways.
What’s the Difference Between Scotch, Bourbon, and Rye?
Mash Ingredients
Whether your favorite is a peaty scotch, sweet bourbon, or spicy rye, one thing that sets each spirit apart is the mash bill. The main grains that are fermented to make whiskey are barley, corn, rye, and wheat. To legally call your spirit a bourbon, it must have 51% corn. A rye must have 51% rye. Scotch is traditionally made primarily from barley and must be made in Scotland, so it’s somewhat in a category of its own.
Corn adds notes of sweetness to the final spirit and has the highest yield of ethanol of these grains. Rye gives spicier notes of caraway, clove, cinnamon, and nutmeg, which get more intense during the aging process. Malted barley provides a malty, toasty, and somewhat chocolatey flavor and has a high enzyme content that helps in converting starches to sugar during the fermentation process. Wheat is also used in certain mash tun bills. Since wheat is more neutral than rye, it typically gives the final spirit more softness and accentuates the sweet notes from corn rather than contrasting them like rye. Some scotches are also peated – a process where the mash is heated using peat as a heat source. This adds a smokey, earthy flavor to the final spirit, but the distillation process plays a huge role in what flavors come over to the final spirit.
Flavor
Each time a spirit is distilled, or each time it passes over a plate in a column, it goes through a separation step. Certain flavors will become more concentrated as the spirit becomes more purified, but certain flavors can also be lost. This is one of the reasons that there’s so much debate about pot stilling versus using plated columns when distilling spirits.
Both technologies have their pros and cons, but it’s ultimately up to you as a distiller to decide what fits the flavors you think are best. Plated columns can give a lighter, cleaner spirit compared to pot stills, where pot stills can allow more of the heavier congeners to make it into the final product. Deciding where to make your heads, hearts, and tails cuts also has a significant impact on the final flavors so keep that in mind.
Mouthfeel
Aging a spirit makes a tremendous difference in the flavor, and whiskeys are typically aged in oak barrels. This adds oak and helps to mellow the spirit during the aging process. Scotch must age for at least three years in oak casks, where bourbon must be aged for at least two years in charred, new oak barrels. It’s common to see scotches aged in barrels previously used for bourbon or brandy to accentuate the flavors of the scotch.
Each type of spirit has its own wonderful and unique characteristics, and the best one out of all of them is the one that you choose as the best. Taste is very subjective, so pour a dram of your favorite, either neat or on the rocks, and enjoy!
> Contact StillDragon today for help choosing the right components and configuration for your distillery.
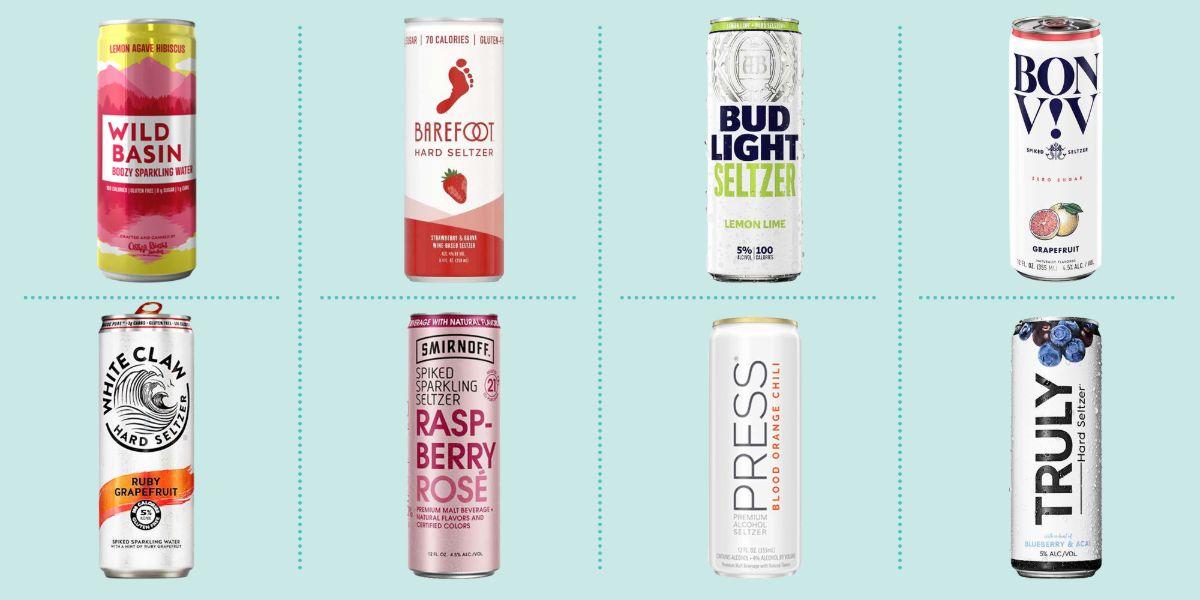
The popularity of hard seltzer in the United States has been going strong now for about two and a half years. However, certain hard seltzer brands like White Claw have blown up in the past year or so. Because of this, other companies such as Bud Light have come out with their own hard seltzers to compete with sales and join in on the rapidly growing seltzer game. These drinks have become extremely popular amongst college students who have passed along their desires for these beverages to their friends and family when home from school.
What Is Hard Seltzer?
Well, of course, many companies have their own recipes when it comes to producing hard seltzer, but it is all very similar to beer production. Some might describe these beverages as vodka soda, but not all brands use liquor in their products. It is usually made with fermented cane sugar, carbonated water, and mild fruit flavoring. However, vodka distillation equipment may come in handy if you’re looking to produce hard seltzer-like beverages (a.k.a. canned, vodka-based cocktails) like KEEL Sparkling and Cutwater Vodka Soda.
Is Hard Seltzer Healthy?
Many have swapped out their beloved ciders and beers with these beverages due to hard seltzers’ macro-friendly qualities and gluten-free ingredients. Most hard seltzer only contains 1-2 grams of sugar, around 100 calories, and approximately 5% alcohol by volume. Nonetheless, there are no actual health benefits to drinking hard seltzer, and the beverage isn’t necessarily healthier than beer. Hard seltzers actually have similar nutrition labels to most light beers. In fact, drinks like White Claw are much easier to drink than beer – so, if you would normally have 1-2 beers but are now drinking twice as much White Claw, for example, it would pretty much be the same as drinking your regular 2 beers.
How Much Does Hard Seltzer Cost?
Most 12 packs range from approximately $15 to $20. That cost is pretty standard if you were to compare it to your average 12 pack of light beer. However, if you were to order a hard seltzer at a bar, there will be a mark up of roughly 30% (similar to other bottled or canned products).
If It Ain’t Broke, Don’t Fix It
If you’ve never had hard seltzer, you’re probably wondering if you’d like it. If you’re someone who prefers hard liquor, dark / rich beers, or even sweet cocktails, then hard seltzer may not be your first pick. Your preferred alcoholic beverage probably differs from the flavor of the seltzer, so you probably won’t make the switch. Trying something new is always great, but swapping out your go-to beers for hard seltzer just because it has fewer carbs or sugar isn’t fun. If it ain’t broke, don’t fix it!! However, if you were to produce your own hard seltzer, you could establish your own flavor profile based on your palate.
Should I Start Producing Hard Seltzer?
Why not?! Don’t be discouraged by big names like White Claw, Bud Light, Corona, and Truly. Creating something special for the locals can add appeal to your tasting room. Creating your own line of hard seltzer mostly depends on what demographic you’re trying to appeal to as a business. It is very simple (and cheap) to make and to flavor, especially if you’re already producing beer and / or distilling spirits. Try using some of your already-available mash ingredients and flavoring ingredients to make your own seltzer! If you don’t feel comfortable jumping on the bandwagon, that’s okay too – simply stick to what’s working for you and your business.
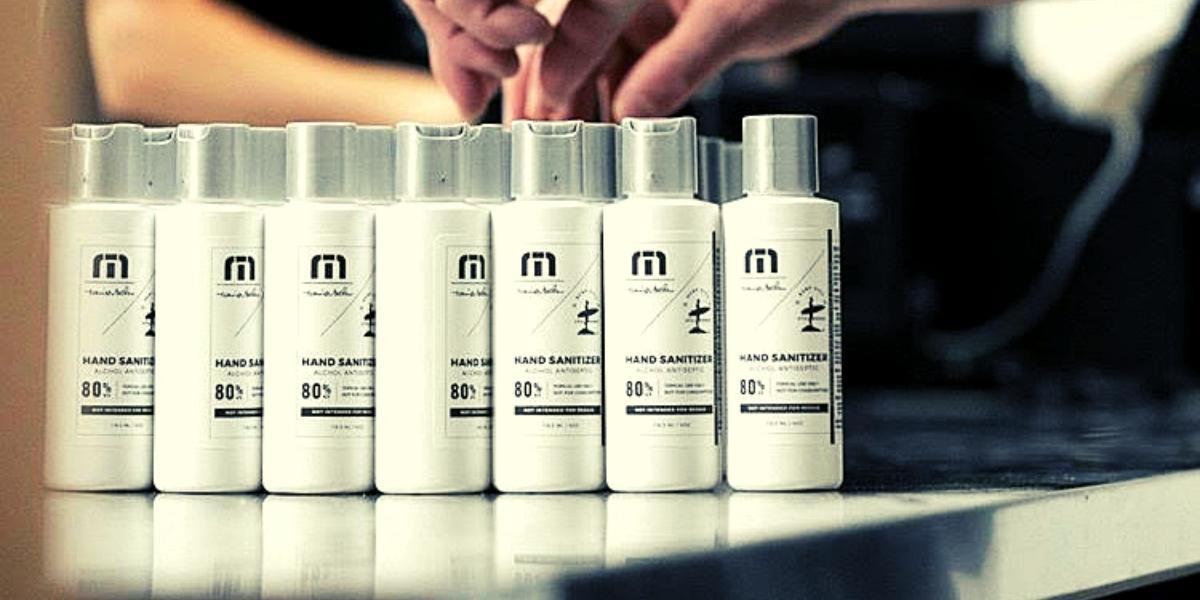
In this challenging environment created by seemingly every potential iteration of Murphy’s Law happening throughout 2020, there have been some ways to pivot that allow you to not only survive but actually thrive. One of these pivots for beverage alcohol producers is a change in product offerings from craft spirits to artisanal hand sanitizer. The hand sanitizer market is projected to maintain a 16% compounded annual growth rate through 2025, so even with the increased production that happened at the start, distilling hand sanitizer is a lucrative endeavor.
Distilling Hand Sanitizer: TTB Guidance
According to the Tax and Trade Bureau, “All TTB-permitted DSPs (including AFPs and beverage DSPs) may manufacture hand sanitizer products that are comprised of denatured or undenatured ethanol, glycerol (not less than 1.45% of the finished hand sanitizer product on a volume basis), and hydrogen peroxide (not less than 0.125% of the finished hand sanitizer product on a volume basis), without first obtaining formula approval from TTB.” This means that current beverage alcohol producers can get into distilling hand sanitizer as long as they follow the prescribed formulas and guidance.
Converting Existing Distilling Systems vs. Expanding Operations
We’ve seen several companies take the plunge and produce hand sanitizer using several different distilling systems and strategies to fit within their business models. Some producers have converted existing distilling equipment to achieve the higher proof needed to produce hand sanitizer, while others have expanded their operations to account for the increased demand. We have a customer that is currently expanding their distilling operation because they’ve been using a tanker of ethanol a week to keep up with their hand sanitizer contracts. There’s a lot of room for new players in this market, and there likely will be for the foreseeable future. But since not everyone is equipped to bulk-produce a neutral spirit to directly replace sold-out products, there are other techniques that can help smaller craft distilleries who aren’t ready to purchase an entirely new system.
Many studies are showing a trend toward natural hand sanitizer solutions gaining market share. One of the things driving this trend is the thought that if you wouldn’t put it in your mouth, why would you put it on your skin? This trend should allow more boutique options for unique offerings in the truly artisanal hand sanitizer space. Scented and more pleasant formulations should be on the rise as overall use increases, so turning that leftover or off-spec gin into a hand sanitizer may be a great way to recycle your materials or keep your distilling systems running and employees working.
How to Differentiate Your Product
As with any product launch, identifying your niche and brand identity will help you find your footing in this new market. Producing a more natural or even an organic product can help you differentiate your brand and help you enter the market in a less price-competitive space. Just like a fine bottle of spirits should demand a higher price point, so too should a premium hand sanitizer with a unique offering.
At the end of the day, the world is very different than it was a few short months ago, and we all need to pivot to survive and thrive. Exploring new markets and adding new products is a great way to protect your business from uncertainty and diffuse your risks across different markets. Hopefully, many of you are already doing this – but if not, now is a great time to branch out and expand your horizons. What do you have to lose by distilling hand sanitizer?
>> Ready to expand your distilling systems to tap into the hand sanitizer market? Contact StillDragon today for help choosing the right equipment.
With StillDragon’s Modular Systems, setting up a Reflux Still is much like assembling a lego set (except it’s for big kids, of course).
What Is a Reflux Still?
A Reflux Still is essentially a Column Still. It typically generates a much higher proof, yet much less flavorful alcohol, than a pot still. The width and height of your reflux system will greatly determine the purity of your product and the speed that it produces distillate. (Column diameter = speed. Column height = purity.) Cleaner products equal more mixing variety for cocktails… or a greater likelihood of getting drunk without fear of the dreaded hangover. Either end goal ‘tis fun!
The term reflux applies to phase change from vapor to liquid. This phase cycling is the outcome of a cooling management setup, which is what most stills are. Other types of reflux stills are liquid management (LM) and vapor management (VM). Today, we are only discussing cooling management (CM).
Decisions, Decisions…
Before getting started on the assembly process, there are a few things to have figured out and purchased by this point. You’ll want to know whether you are using a kettle or the less expensive keg that most DIYers modify. You’ll also need to decide between the different types of columns – CrystalDragon, Copper Tees, or Stainless Steel Tees – and you will have already chosen between the Bubble Caps or the more efficient ProCaps. For the ease of setting up today, we are using the StillDragon 6” ProCap Dash with the 6” x 6” x 3” Stainless Steel Sight Glass Union Tees with ProCaps.
Phase One
StillDragon reflux columns use copper plates with copper Bubble Cap or ProCap assemblies, which have the widest operating range of all the plate systems — hooray! Let’s get drunk… I mean, let’s make purer alcohol. We would recommend that you assemble your copper plates first. It can be considered the most redundant and tedious part of the process:
Grab a 10mm box wrench and loosen the nut on the bottom of your ProCap (for Bubble Caps, use a 5mm Allen wrench and stick it in the keyhole to loosen).
Take your ProCap apart and place the screw back through the hole of the side that looks like the top of an umbrella, and then line it up with the hole in your plate.
Next, slide that other copper piece through the hole on the plate so the two pieces are fitted together with the plate in between. (If bubble caps are used, simply tighten that cap screw back on there with your Allen wrench and call it a day.)
Add a washer to the bottom of the ProCap and add your flow director.
Place the 2nd washer, and then finally the nut.
Tighten with your 10mm box wrench and bam, that’s it.
Repeat these steps until all your caps have been attached to your plates.
Phase Two
Another decision we forgot to mention is whether you want to use a starter collar. In our situation, we are using a 6” x 4” TriClamp Reducer as the starter collar, because our column connection is 4” and we want to use a 6” column. You may choose to use a starter collar to keep any puke (boilover) from getting onto the first assembled ProCap plate. To start building your column, attach the pipe section of choice to your kettle or modified keg. Use a plate gasket in between the starter collar and TriClamp Tee, and then rest your assembled ProCap plate right on top of the ferrule inside the plate gasket, keeping the side that looks like the top of an umbrella on top with the flow directors pointing downward.
Flow directors are used with ProCaps so that the liquid drips onto the plate below, rather than entering the top holes of the ProCaps in the plate below it (the first plate inlaid in a system does not necessarily need flow directors). Finally, clamp your pipe section down to tighten the seal and ensure no leakage. Continue this step for each tee until your desired height. Once again, the taller the still, the higher the proof!
Phase Three
Once you’ve reached your desired plate count, attach your Reflux Condenser, aka the Dephlegmator. There is no “top or bottom” to our dephlegmator, so place whichever end to your column as you would like. Once again, place your gasket in and clamp that baby on there! Your dephlegmator acts as a partial reflux condenser. It’s essentially a heat exchanger that condenses a percentage of vapor and sends the alcohol-enriched liquid back to the plates to further enrich forthcoming vapor. The process described stabilizes the ABV of the product collected compared to basic pot stilling.
Phase Four
Once the dephlegmator is secure, the StillDragon standard is to reduce the piping to a 2” bend. Depending on your preferences, there are several to choose from on our site. You’ll need a 180-degree bend to lead to the Product Condenser / Shotgun, where the vapor is completely knocked down into ethanol.
Phase Five
The bottom part of your column is going to be the Parrot kit. From the Product Shotgun, you’ll attach your Vent / Surge breaker, which ensures a more controlled flow of liquid, to the Parrot body. The final bits to add are the sanitary valve, ferrule (which acts as a downspout), and the alcometer, which gets gently placed in the Parrot body center,. Let’s see that proof!
Phase Six
The last task is to connect the irrigation. This is where the small TriClamp to threaded adapters get clamped to the ports on your Product Shotgun. You can then attach rubber hosing. (Tip: Using blue hose vs. red hose can help you differentiate between temperature.) Attach your red hose to the top port of your condensers with our push-connect attachments. The same goes for the blue hose, but this is attached to the bottom port. Cool water is forced into the condensers and hot water is pushed out. This cooling agent is what aids in condensation. Very cold water will have a slower flow rate and room temp water will have a faster flow rate.
Voila! Now you have successfully assembled your reflux still.
Well, here I am again tasked with trying to provide some clarity on a debate that has likely been a thorn in the side of purist whiskey lovers since the 1800s.
Undoubtedly, pot stills do indeed have the oldest pedigree on the planet. And, as I’ve mentioned in the past, pot-stilled whiskey is some of the most sought-after spirits on the planet. I’m a big fan to say the least.
The Best Still for Whiskey Is…
Pot stilling is probably what most people think of when they imagine how spirits are produced. However, in Kentucky the column still is very much part of bourbon production. I’m not referring to the tall column stills used to produce very neutral spirits like vodka. I am referring to the fabled bourbon still employed by nearly all of the bigger bourbon makers in Kentucky. This still is not at all designed to remove or clean whiskey up so much that it ends up with the thin, smooth yet dry mouth feel that is often attributed to Irish whiskey or scotch that is traditionally distilled multiple times. No, this still rather installs flavor. Or perhaps better put, it concentrates flavor into the finished spirit.
The technique here is that the grains (no less than 51% corn) are left in the wash to be fermented into distiller’s beer. After fermentation, the grains are still not removed. The grain-in distiller’s beer is then continuously fed into the still on to one of the upper plates. The emphasis is more about liquid hold up giving the alcohol the opportunity to flash, rather than allowing the still to optimally perform many distillation cycles. This technique allows the finished spirit to be pulled off at a lower proof than its Irish or Scottish cousins. The resulting product is rich, with a more complex flavor. The mouth feel is far chewier and even has a bit of an oily finish, giving bourbon its reputation for being a sturdy whiskey that drinks well when served neat or stands up well in a proper cocktail.
An American Bourbon Distiller’s Perspective
To gain more perspective, I had a word with Adam Stumpf, the owner and master distiller at Stumpy’s Spirits Distillery in Columbia, Illinois. Adam and his family operate one of the very few small, family-owned estate distilleries in the country. Adam’s family grows all their own grains used in their spirits. His family has farmed the land for eight generations, and now Adam has added the craft distillery to the family portfolio.
Larry: Hi Adam. Can you describe the flavor profile differences the continuous column produces compared to pot-stilled bourbon?
Adam: On our particular column versus our 500-gallon pot, we have noticed that the flavor profile of our distillate is overall cleaner and more delicate and nuanced. It seems that the distillate is aging a bit faster, as we recently had a group choose a single barrel to purchase off our column that was 18-months old. In a blind taste test, they chose that barrel over two barrels that were three-years old from our pot still. Obviously, there are many variables that can attribute to those flavor differences, but the white dog off the stills is noticeably different, with my preference being the distillate off the column.
Larry: Adam, what are the production speed differences, if any?
Adam: The 12-inch column is running about four times the speed of our 500-gallon pot, putting out a higher quality whiskey, with about one third of the utility cost per proof gallon.
Larry: Whoa! That is a significant difference. So Adam, besides your own, what bourbons do you find most enjoyable?
Adam: It’s different depending on the day! Anything from Heaven Hill that comes out of their Deatsville (old TW Samuels) rickhouse is usually a winner … especially if you can get an Elijah Craig single barrel. I’ve also found myself sipping a fair bit of Wilderness Trail recently.
Right. So, I’m not sure what (if anything) we’ve accomplished here other than bourbon made with a bourbon column still is simply a different spirit than its pot-stilled cousins. All are whiskies to be sure. What still is best for whiskies? The answer is: that depends.
But bourbon is its own uniquely American iteration of whiskey. Unless you don’t like whiskey at all, there is plenty of space on the whiskey enthusiast’s shelf for pot-stilled whiskey and column-made whiskey. Irish whiskey, Scottish whisky, Canadian Whiskey, and – of course – American whiskey … there is room for all. It shouldn’t matter. Our only job is to enjoy or not. And if you can’t enjoy? Well, then there will be more whiskey for me!